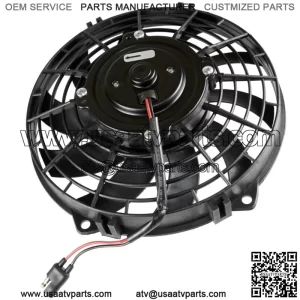
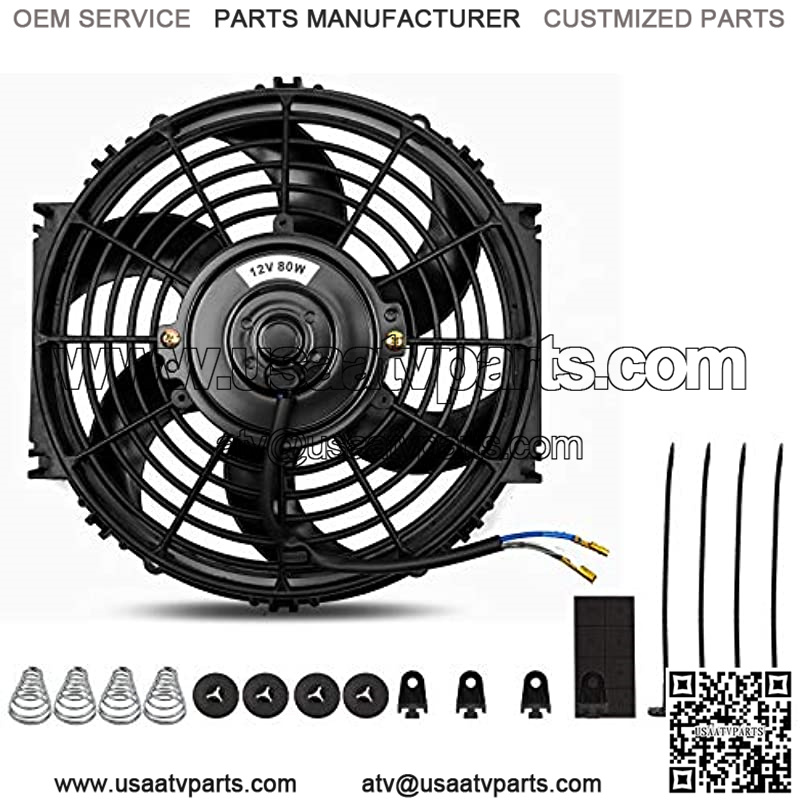
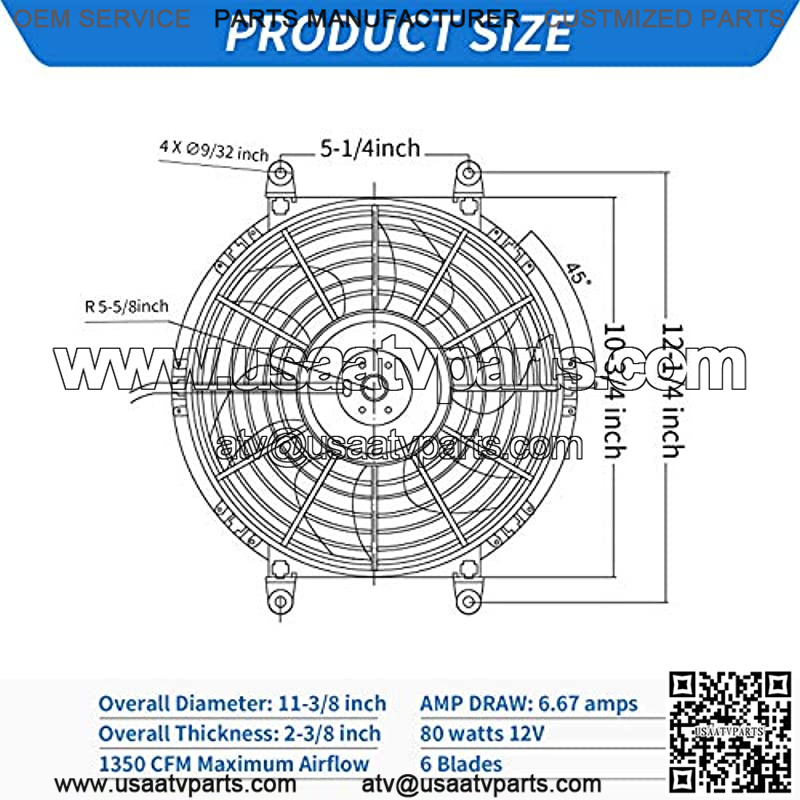
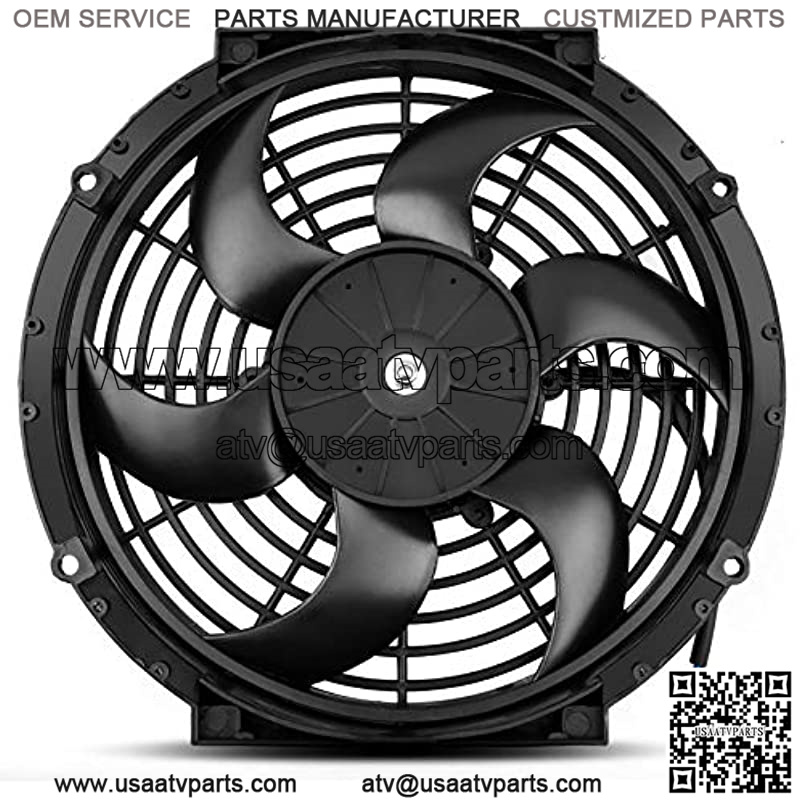
Overall diameter: 11-3/8 inches, Thickness : 2-3/8 inches. High-performing electric radiator cooling fan at 12 Volts, 1350CFM, 2250 RPM Rating, 6.67 Amps Draw, 80 Watts, Less than 70 decibels, 6 S-Curved Blades
10 inch Radiator Cooling Fan Universal fit Truck/Van/Trailer/RV/Pickup etc.Depending on radiator size ; Aids to Cool the Entire Engine Bay, including Radiator, A/C System, Intercooler, Oil System, and Transmission.Easy direct installation, NO modification
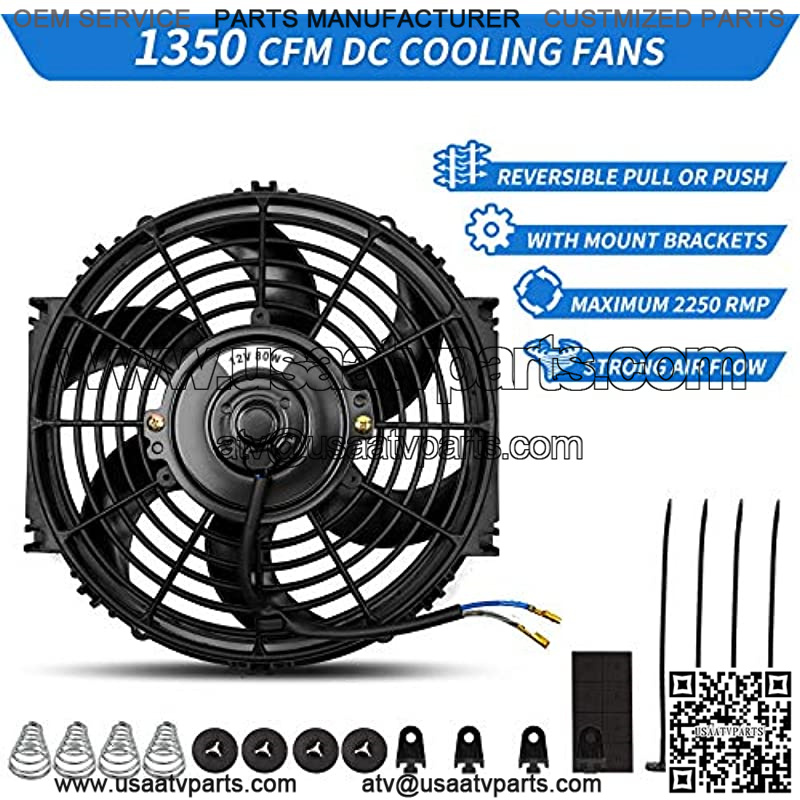
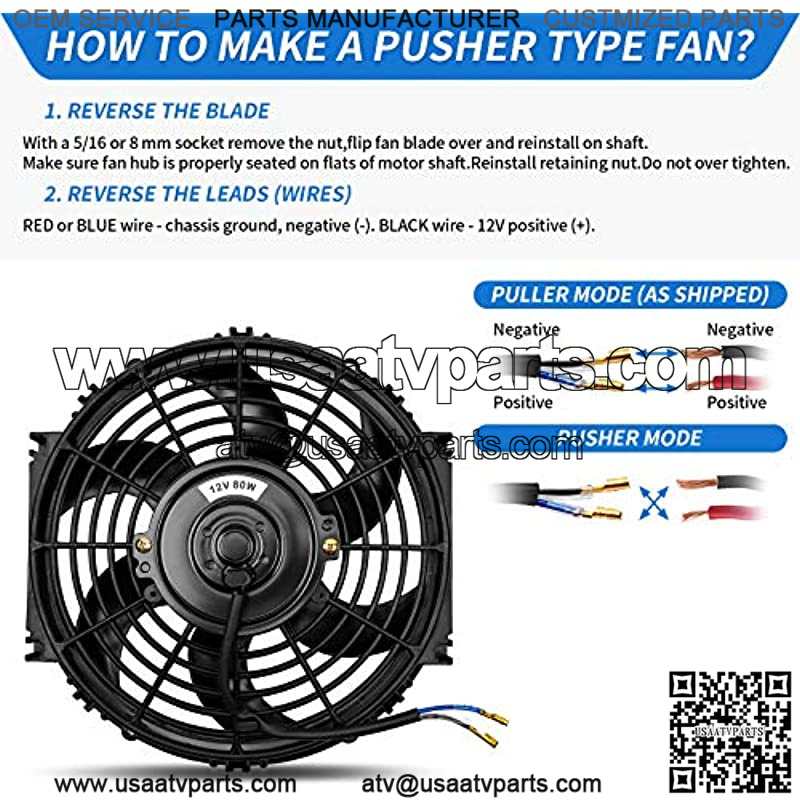
Powerful 80 Watt motors, used as puller keep your engine temp cooler than mechanical fan; Flip the blade over and reverse the leads to make the fan an air pusher
Built in new technical sealed ball bearing High Torque Motor and fully balanced blades that ensure Low noise levels,Stronger Power air flow and Longer service life
Package included 1x 10 inch cooling fan + User Manual + Mounting hardware. We guarantee all Electric Radiator Cooling Fan passed strict testing before selling on Amazon, we provide 1 YEARS warranty and lifetime professional tech support for customers.
Size:10 inch
Product Specification:
Overall diameter: 11-3/8 inches
Thickness : 2-3/8 inches.
12 Volts, Maximum 1350 CFM, 2250 RPM , 6.67 Amps Draw, 80 Watts, Less than 70 decibels,6 S-Curved Blades
How come MONOKING Radiator Cooling Fan is better
Excellent performance, easy wiring and install
Stronger motor and low noise levels,less than 70 decibels
Powerful 80 watt motor move a strong flow of air
keep the engine cool and make your traveling more safer
How to make pusher type fan
Just flip the blade over and reverse the wiring to make the fan an air pusher
Package Included
Fan + Mounting kits+ User Manual
Things you’ll need
1.Wrench set
2.Ratchet and 5/16 or 8mm socket set
Installation(Configured as an air PULLER out of the box)
Step 1: For Electric Radiators, Disconnect Electrical Wiring.Confirm your radiator is electric or driven by a belt. If it??s electric Unclip wires on the back of the radiator before continuing.
Step 2: Remove Radiator Fan Shroud .Using a wrench and/or ratchet and socket set, remove the bolts connecting the shroud to the radiator. Then lift the shroud straight up and off of the radiator to expose the fan.Please keep bolts to reinstall the new radiator fan.
Step 3: Remove the Old Fan.use your wrench and/or ratchet and socket set to remove the bolts or disassemble the fan clutch and fan assembly.
Step 4: Replace Radiator Fan.insert new fan into the space where the old radiator fan was previously installed. Use the bolts that you unscrewed in the previous step to secure the new radiator fan in place.Reattach the fan clutch and assembly if necessary.
Step 5: BLUE wire 12V positive (+); BLACK wire negative (-).Reattach Electric Wires and Test.Reattach the electrical wiring,lower the hood of your car and test to make sure the new radiator fan work.